I have been quite busy since my previous post, producing lots of samples for my final show on 10/06/2013. The photos below are the photoshop developments that I chose to print. My next step is to decide which 10 I will use as final
A3 samples.
My initial plan was to have 3 fabric lengths as my final outcomes but just today when I seen my samples printed I decided on a set of 3 scarves instead.
I will be uploading photographs of the scarves I produce soon so keep a look out :)
Thursday, 16 May 2013
Wednesday, 1 May 2013
Photoshop Fun...
I scanned my hand drawn motifs into a computer and started working with them in Photoshop. I started by cleaning up the motifs then started experimenting with colour and scale. This was the outcome I ended up with after my first session
Made in Jesmond
We set up a shop window in Made in Jesmond for our open evening to show off our hand made designs. The shop looked amazing!
FMP
I have been working on my final major project. I decided for this theme I would look at unusual and impressive headwear and headdresses around the world. After researching I started to draw and decided I wanted to stick with a circular motif. I have had a couple of days off and have really enjoyed putting together some hand drawn motifs using a fine liner and sharpie. I will then be taking these into photoshop to start experimenting with colour, size and layout.
Wednesday, 17 April 2013
Made in Jesmond Open Evening
We are having an opening evening at the shop Made in Jesmond this will take place on this Friday for industry and friends and family this Saturday. Please come along to see mine and classmates work.
Made in Jesmond Final Outcomes
Here are some photographs of my final outcomes for the live project with Made in Jesmond:
Scarf Number One
Scarf Number Two
Fell in love with feathers...
This module was very exciting, this was a live project with Made In Jesmond a local shop in Jesmond, Newcastle - www.madeinjesmond.blogspot.co.uk
For this module we had to research trend, product, branding and packaging. After researching we had to decide which product we would be making to sell in the shop. I decided to follow the trend, swallows and vintage birdcages. I then realised that this had been used a lot on the high street so after a few drawings i decided to look more at just feathers. After drawing one feather I fell in love and the level of my drawing was a lot higher. My final product was going to be two scarves which fell alongside each other.
This is the mood-board I produced to help me keep my mind set for the rest of the project.
I started drawing feathers using fine liner and pencil.
I was very happy with my end result when I was finished drawing.
After I was finished drawing, I started to design a hand drawn repeat on tracing paper. Once I was happy with repeat I got this put onto a machine so I can start experimenting with colours.
Screen Printing
These are the colours I decided to use on my screen prints, using water based inks.
These are three samples I produced, I was testing colours to see if I was happy with the outcome, which I was, and I felt they worked well alongside each other.
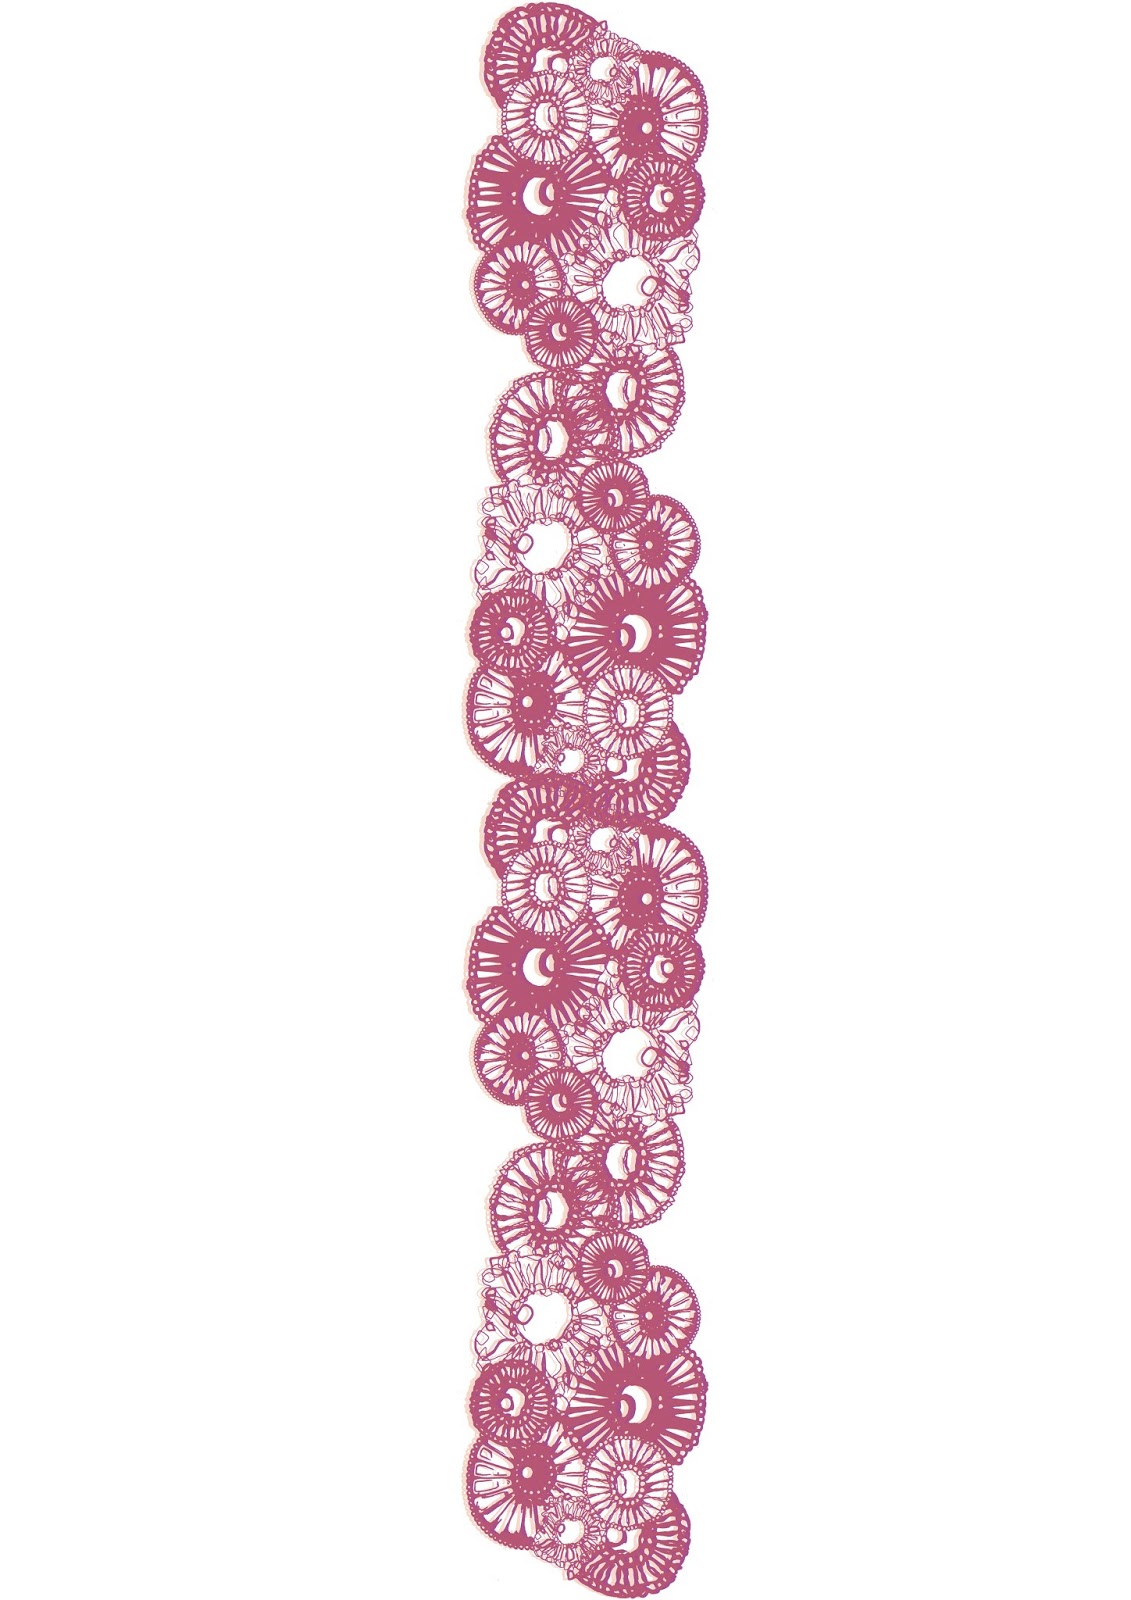
After sampling individual feathers, I started to screen print the hand drawn repeat I produced. I decided on these two to be my final outcomes for my scarves. I didn't want them to be identical, but I wanted them to lie alongside each other well, so I decided on one scarf to be full of colour and the other to just include a light colour and the strongest colour in the palette, which I felt was the coral.
Close up of one final outcome print.
Subterranean - Samples & Final Outcomes.
Screen Printing
I started by screen printing some samples towards my final outcome, here are some photographs of the outcomes:
These two are the screen prints when I was using manutec dies, these give you a very limited colour palette and I wasn't happy with the colours I ended up with, as they were very dull.
I was happier with the outcome when I used water based inks, as these come with a white you can mix colours together to get the exact colour you are looking for, I also experimented with gold foil which I was really happy with and decided these would be the colours I would use in my final outcome.
Digital Printing
I decided to experiment with some digital prints, so I completed a hand drawn repeat and scanned this into the computer, and then started to refine it using Photoshop I then scanned in some of my screen prints and started developing them by flipping and repeating them to make a whole new pattern. This was the outcome I ended up with:
I was extremely happy with the outcome so these ended up being my final designs, I added gold foil to areas and I then created two garment fronts with the material.
Pleated Skirt
Pleated Top
This was some left over material I had which I used as a sample with gold foil.
All done & dusted, ready for hand in.
Subscribe to:
Posts (Atom)